Network Infrastructure

The first thing I drew was this pole thing I saw on Flatbush in front of the Avalon apartment. I don’t actually know what this is, but I think it could be a microwave radar as written in this week’s reading. These things actually count and track traffic in a certain intersection. This data could be used by the city or certain companies.

Or it could have been a lamp with a light sensor. I think it could have also been this because it had a white opaque top which kind of looked like a lamp.

The second picture is a camera pole near canal st on Lafayette. I think this could be speed camera or red light camera, but i think it is unlikely to be a red light camera because it is not facing a traffic light. It might be surveillance cameras as well as speed cameras which would help catch speeding cars.

The third picture are the schedule for when the trains are coming. These are everywhere in stations. Sometimes they are so helpful, but sometimes they are also so torturing because the train could be delayed many times and the screen could keep saying the same times. I actually don’t know how these screens know when trains are coming, because I heard from someone that the MTA employees actually do not know where the trains actually are in tunnels until the train is a few mins before it enters.

Network Infrastructure

For the first piece of network infrastructure, I noticed a large white box on the roof of my apartment building early in the week. After checking Ingrid Burrington’s guide, I learned it could have been a microwave antenna, due to its cylindrical shape, which would be providing internet service to the building. The antenna likely connects to another antenna and provides for the tenants of the building below.

The next device is an NYPD security camera, which was located on an intersection in downtown Manhattan. The device had two cameras and a medium sized antenna attached at the top. The device most likely transmits a live feed of whatever the cameras are recording using the antenna. As for the internals, the device probably has components for transmission as well as storage for backup recordings. It exists this way in order to record and watch the streets.

The third and final device is a red light camera I observed in Queens after a few cars ran the light and its camera started to flash. This device detects when a car has crossed the intersection during a red light and then takes a picture of the car in order to identify its license plate. It exists in this form because it needs to be higher up in order to have a vantage point of the intersection, the car, and its license plate. The box is most likely wired through the pole to an external device.

City Infrastructure


This first drawing is of a conEdison manhole cover. I’ve been seeing lots of these around the city and wonder what exactly they lead to. Last night while walking home I also saw a conEdison truck with crew going down into one of these manholes. A little research shows that conEdison is an electricity company, but I still wonder what exactly one could find down there.

My next observation is of this little white box above a street light. There were little holes on the front too which I thought was an interesting design choice. My only guess is that this controls the traffic lights themselves but I can’t be certain.

This last drawing is of a building I can see from my window. It is the AT&T building on Ave of the Americas I believe. I know it’s related to AT&T because there is a doorway directly from the Canal subway station into this building and a sign says
“AT&T Building” (or something like that). I can see the roof of the building from my dorm and I just know there is some major internet related things going on up there. Maybe it is a cell tower though? I am unsure but would love to find out.

Observation: Network Infrastructures

After reading Ingrid Burrington’s field guide to networks in NYC, I couldn’t unsee the devices and ‘marks’ of network as I moved around the city. Here are the memorable ones that I thought stood out from my routine path–– for different reasons.

12:03pm on 88th St bet 3rd Ave and Lexington

As i was walking to the 86th Street station, I noticed that one of the street lamps had added height to it. I recognized it, having read about it in the guide but did not remember what it was called so I took a picture of it to research on later.

Distributed Antenna System (DAS) • Helps distribute signal in under-covered areas; connected to fiber optic networks underground.

12:07pm, on the ceiling of the 86th Street Station: by the 6

Last month, I noticed right above the spot where I wait for the 6 train, that there were knobs marked with “DO NOT PAINT” in bold. I wondered then, why it was so important not to paint over these knobs– having no clue what they controlled or if they even moved at all.

Seeing this in the guide gave me an aha! moment:

Subway wireless networks • Provides wifi connectivity underground

The big tubes are labelled “RF CABLE” and “POWER AND FIBER”, suggesting where and how the device is connected. RF stands for radio frequency– I inferred this based on the guide. Apparently the signals from the base station (home base) are distributed to the connected stations via these fiber optic cables and converted into RF signals.

**Subway wireless networks- also a DAS!

6:20pm, view from the Arnold Library @ Parsons

Before grabbing dinner with some friends in the East Village, I got some work done. While staring out the window of Parsons’ library, I recognized yet another piece of network infrastructure– the microwave antenna– affixed on the rooftop of another Parsons building across the street (5th Ave).

Microwave Antenna • Wireless internet service provider that provides broadband services through a network of antennae

I like the contrast between the clunky device that seems to be reaching up and out and the classical style, architectural building that seems to have been there for decades, standing still.

Network Infrastructure

The first network infrastructure I drew is called primary inspection kiosk. I first saw this at Montréal-Pierre Elliott Trudeau International Airport, and I thought this could only be used by returning residents, Canadian. Surprisingly, all travelers, including foreigners, are required to verify their identity and make an on-screen declaration through this machine. During the self-inspection process, I found it easier and faster then I thought. People will need to scan their passport first, take a photo, and answer some questions. After using it, I personally hope that every international airport, especially JFK, could installed a bunch of this kiosk, so people do not have to stand in line for more than two hours waiting for the inspection.

The second one is some cars for transporting check-in luggage. I saw them at Québec City Jean Lesage International Airport when I was checking in for my flight from Quebec to New York. Although I didn’t have any luggage to check in, I keep looking at this system. Passengers will put their luggage on the conveyor belt first, and when the luggage is sent to the end of the belt, the car will come and take the luggage away. In this way, there is no need for a person to stand there and move every passengers’ luggage by hand.

The last one is the self-service check-in machine. People have to select their airline first, and then either enter the booking reference manually or scan the QR code. After confirming your information and selected seat correctly, you will get your boarding pass and finish the check-in process. Although it seems simple, I and my friend didn’t successfully check-in by using this machine. The selected seat of one of us is Gate, which means you are possible to get on this airplane but not guarantee to have a seat, so we have to go to the ground crew for help. 

Midterm Project- Fortune Teller

For my midterm project, I wanted to continue working on my pulse sensor. I figured out how to get the cardiogram with the help of Scott by adding the correct resistors. I build a box using laser-cutter to cut the frame and paper to mimic the crystal ball. I then drew a hand shape on it as the signifier. I spend a lot of time writing the p5 code because I kind of forgot it. So I had to change my idea form the shaking heart to the fortune-telling memes. Based on the feedback in class, I’ll be more careful when contextualizing the data value by thinking more about people’s uniqueness and difference.

Testing with a blinking LED

Final version


Sand Hill Scramble! (Scratchoff Ticket Interface)

Will your startup reach Unicorn Status ($1bn Valuation)? Find out now by playing Silicon Valley Scramble!!

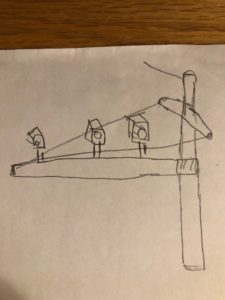
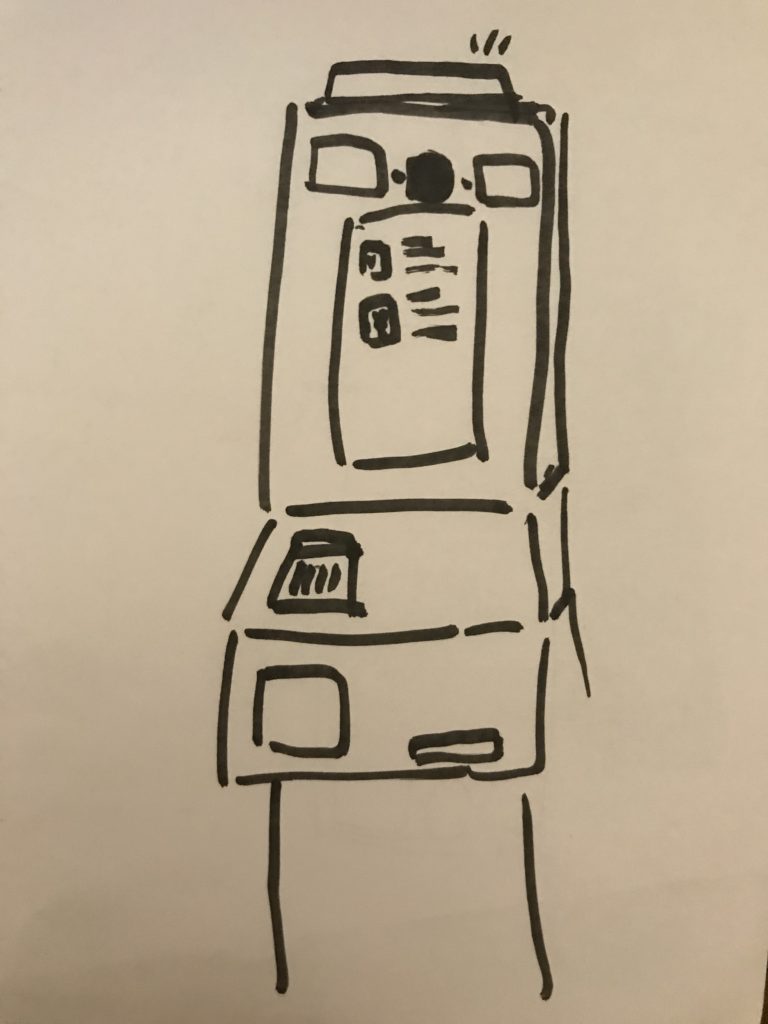
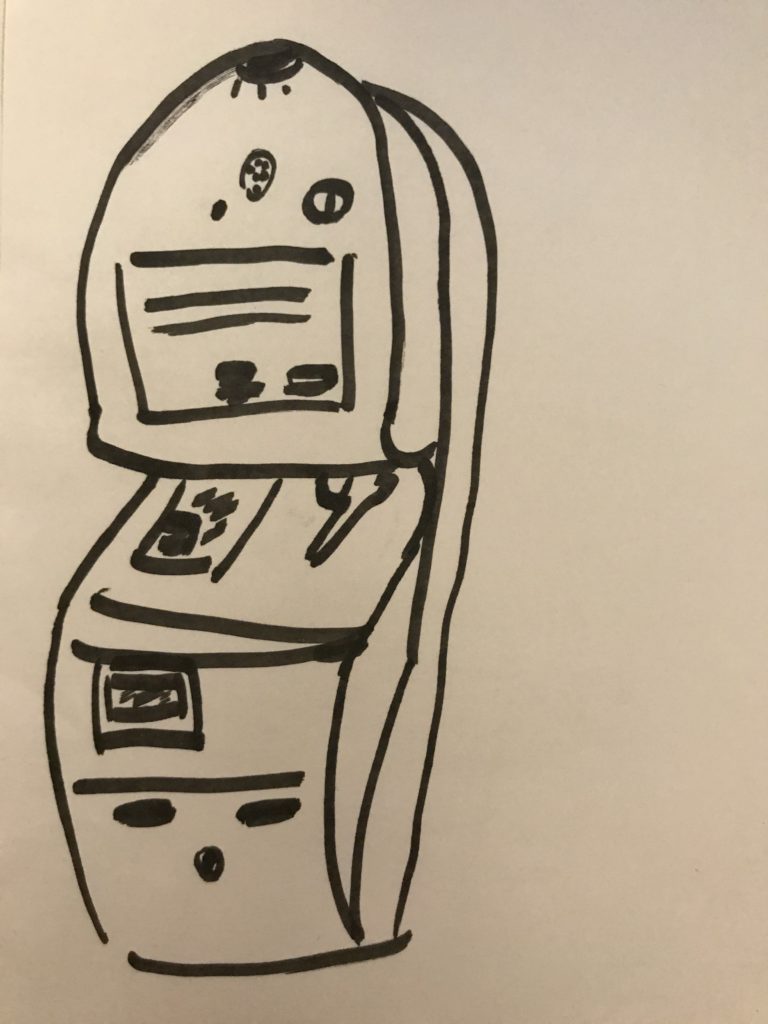
The microcotnroller and soft-touch pot:

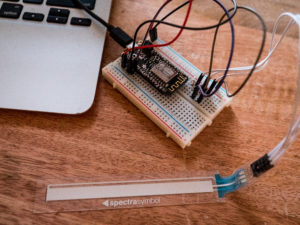
This was fairly straightforward to build (although the soft-touch switch was a little tricky to connect to the breadboard – I ended up buying a few female-to-male pre-soldered wires because the 3 male connections on the switch weren’t long enough to connect/stay connected to the breadboard). The middle pin is connected to the analog pin on the Arduino (via the purple cable), the pin to the right of it is wired up to ground, and the left-of-center pin is connected to power via two resistors.

Analog input to webpage:

You can see my switch half-works here. I tried several ways of mapping the analog switch values so that sliding around on the switch would actually increase the output value in the expected manner, but no matter what I tried it would only every be a binary “no touch = ~3-4, any touch = 255”.  I also tried treating other output pins on the soft-touch switch as the output pin, just in case I was reading the docs from the swtichmaker wrong, but the other pins wouldn’t give any sort of dynamic output at all.

I took this binary on-off output and hooked it up to a webpage in the Arduino IDE, and set the webpage to reload every second – you can see the complete code in this video:

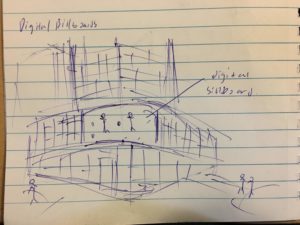
Here is the digital portion of the interface – built in Framer (https://www.framer.com). In the video below you can first see the graphics I designed, the code I wrote (in brief: it 1.) picks a random number out of 0-4 that determines which screen will display when you get to your results, and 2.) dials back the opacity of the “gold scratch-off” layer in accordance with how long you press down. I had also wanted some gold shavings to fly everywhere as you scratched, but some of the animations for this were giving me difficulty and didn’t make the final cut).

As I’ll show below, I couldn’t not get Arduino and Framer talking to each other via an API call. However, if I had, I would have been able to take the analog input from the soft-touch switch and set something like “if analog_input ==255, start opacity fade”. If the switch had worked as intended, I would’ve been able to add an even greater level of realism, and possibly track the switch’s position directly within Framer to, say, move a finger directly in accordance with where your actual finger was on the soft-touch pot. Someone on the inter webs accomplished this (somehow) via Arduino -> MIDI (offline, on your mac) -> Framer (https://www.youtube.com/watch?v=Sik8Ppnegmo&feature=youtu.be). But after downloading the necessary library I couldn’t get his approach to work, and it wasn’t using the methods we were covering in the class (over networks/REST calls).


In the video below you can see how Framer would normally make API calls and receive JSON. Here I use a Framer function to read some dummy JSON from a dummy endpoint, and print it to the console of my interface.

Knowing that was working, I tried to use the URL of my Arduino webpage to get the JSON data and analog switch value, but I kept getting a 404 error.

Hands-free switch

Materials:

  • 9 V battery
  • 1 LED
  • 1 220 Ohm resistor
  • Wire, cardboard

This switch is activated but a push. Pushing is a motion that can be performed by many parts of the body, I have tested elbow, toe and nose push on this switch. The structure of the switch is a simple barrier of cardboard that guides the power source. Upon connection with the wires, the circuit is closed and the LED lights up.

https://vimeo.com/326082330

Integration: I couldn’t integrate this switch with the Huzzah microcontroller, because this battery’s voltage is too high for Huzzah and it could fry it.

Network Infrastructure Observation

Traffic Light

This is a traffic light that I saw on my street corner, which controls the flow of traffic on the road. However, I think there’s some network infrastructure involved in traffic lights that we don’t think of often. I remember hearing about how some lights can detect whether there are cars on the road, which influences what light they show. I dug into this a little, and found that these are called inductive loop traffic lights. Basically, there are coils of inductive material underneath sections of road that increase in inductivity when a car’s heavy metal body bears down on it. This increase sends a signal to a device, which tells the light to behave in a certain way. The sending of the signal requires some sort of communication between different devices and may involve a client-server connection, but I’m not completely sure on this. I think it was implemented to make traffic lights more efficient, so the flow of traffic isn’t impeded in any way that can be prevented.

SEPTA key card

This is a sketch of a SEPTA key card making contact with a machine on Philadelphia’s SEPTA lines. Septa is the main form of cheap, public transportation in Philadelphia, and people used to use tokens to pay their fare. Only recently, did the company start using the key card system, which is their way of modernizing the line. I think it’s related to networks because there’s a clear communication between the key card and the machine that reads the card, telling you that it has been read and accepted. You can also check your balance online, which means the card is probably sending information to a server that’s updating the page with your data. Mainly, I think they replaced the token system with the card one because it makes it easier for all the users, so they don’t have to buy tokens or carry around cards and can just go to a kiosk to refill them or get a new one.

Digital Billboard

A sketch of a digital billboard that I found in the city, which displays information in the form of text, pictures, and videos to people passing by. I thought about how this was different from classic physical billboards and realized that there must be some level of communication between this device and another for information to be transmitted to the board. My guess is that someone uses a computer to send information and media to the board to display, maybe by making a client-server connection or using network-related devices. I think this is probably the easiest and most efficient way of transmitting media to billboards, other than physically connecting a computer and uploading the media that way. It’s definitely more dynamic and eye-catching than normal billboards, and probably easier to implement in certain aspects, too.