The video:
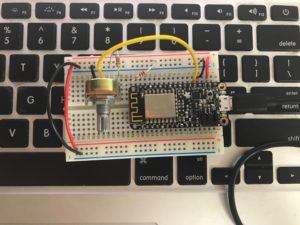
The breadboard:
The important code:

Physical Interfaces / Net Devices
IDM Spring 2019
The video:
The breadboard:
The important code:
After trying—and failing—to find other people conspicuously struggling with a poorly designed object, I’ve found something that warrants this analysis: the machine in the lobby of my dorm that puts money on laundry cards. I’m not gonna pretend like I saw someone fighting with it and realized—just in time for this writing assignment—that it fit the bill. No, I’m writing about this piece of machinery because I know, from personal experience, that it’s really badly designed.
In order to use the laundry machines in the basement, you need to pay with something called a Hercules Card, which you’re given at the start of the school year. These cards are refilled at the machine in the lobby, and the machine looks like this:
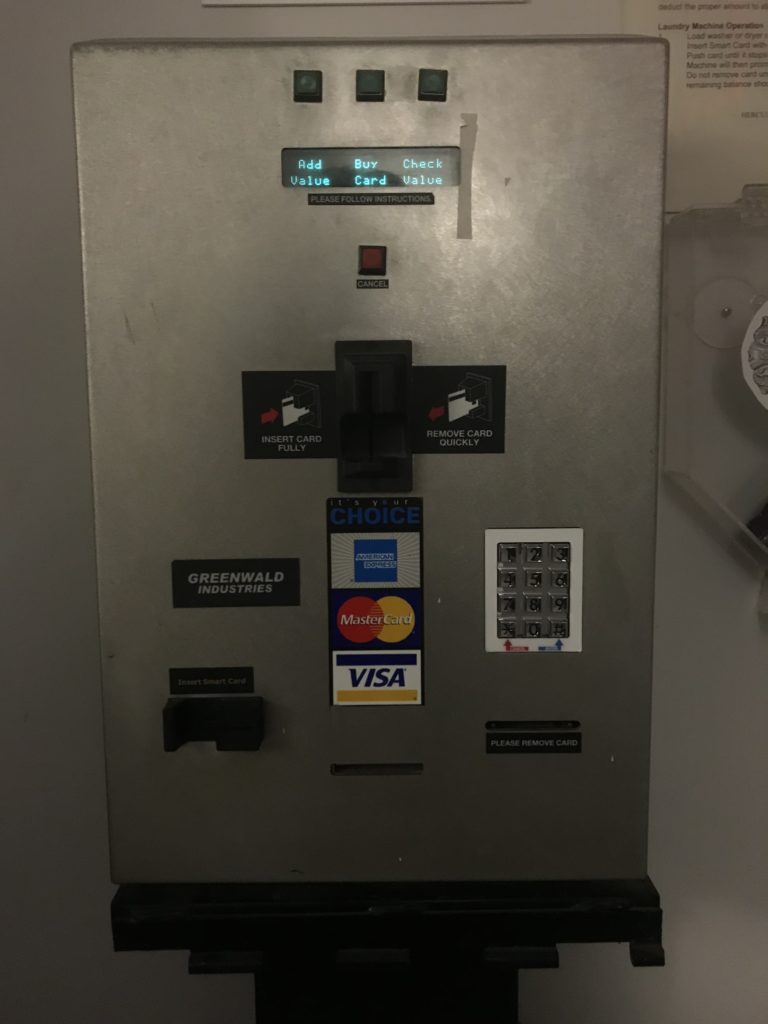
The machine’s components have different affordances, and these seem functional enough. The two card slots that protrude from the machine afford card access and the two recessed card slots seem to be involved in some similarly card-related process. The number pad affords personal verification, presumably for something like a PIN number, and the four buttons toward the top of the machine afford interaction with the operating system. All of this seems fine on its own.
Enter the signifiers, and things break down. It’s unclear what each of the card slots is actually for, because the labels that usually signify which card goes where are either ambiguous or not there. Does the Amex/Mastercard/Visa label mean that the card slot directly above it is for payment method? Or do credit cards go into the card slot on the left, because aren’t credit cards sometimes called “smart cards”? No signifier indicates where the Hercules Card should go. And what on earth is that totally unlabelled card slot at the bottom-center of the machine? Is a third card going to come out of the machine that’ll later be “removed” on the right?
If I were to redesign this machine, I’d fix up the signifiers and label things clearly. That seems like an anticlimactic way to end this piece, but I don’t really see there being much more to it.
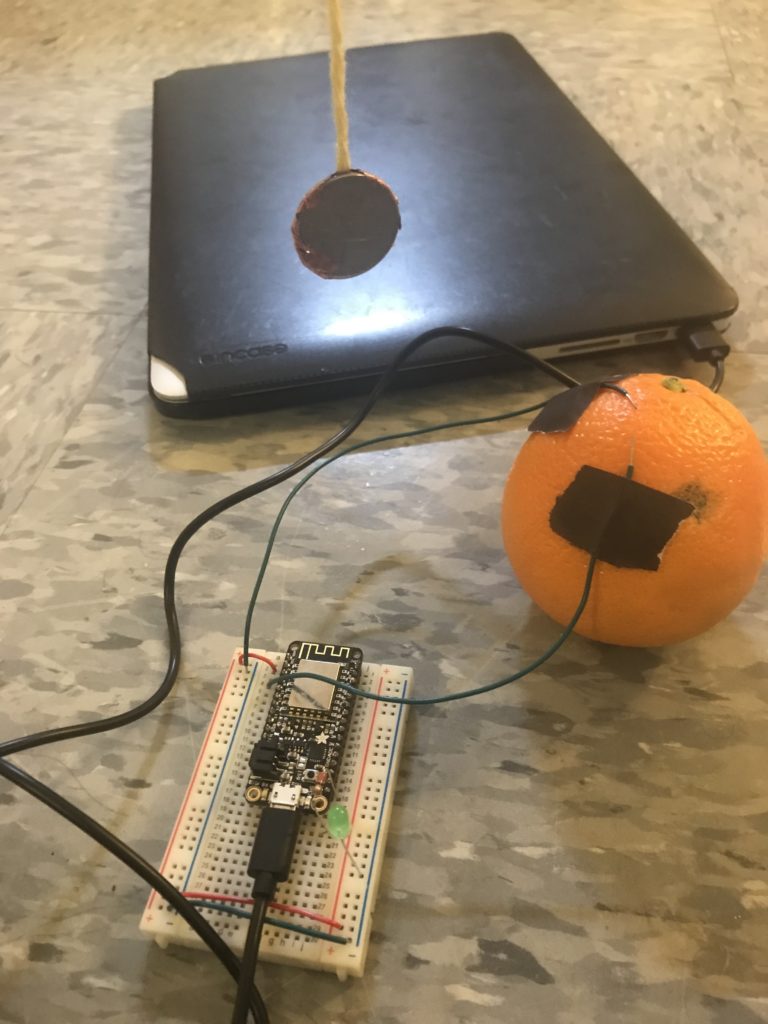
In belated accordance with our recent homework assignment, I connected my forward lumbar stretch switch to the Feather microcontroller and used a standard blinking function to direct the LED. The suspended quarter could be lowered down and onto two exposed wires that then created a connection between the microcontroller’s output and the LED.
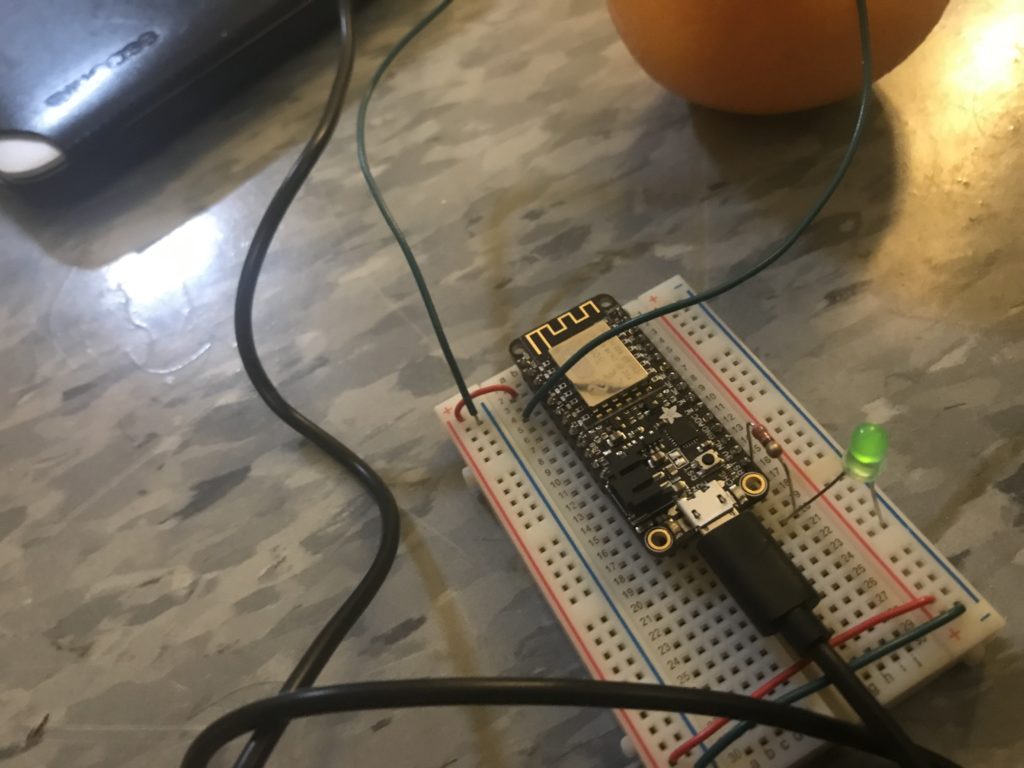
It mostly worked! I repeatedly ran into a problem though: the LED was always quite dim when it blinked on. All the wires were extremely flush the first time I arranged the breadboard, so my first theory was that I hadn’t cut long enough wires and that the exposed ends hadn’t then been pushed all the way in. So I recut the wires, arranged them all, and nothing changed.
I then went into Arduino and realized I was directing the microcontroller toward the wrong pin, so I changed the LED integer to 16 rather than 2. That got the LED blinking at a brighter intensity, but it still wasn’t bright bright, and I’m not sure why. Nevertheless, the quarter switch worked, and I feel younger and more flexible than ever before.
Regarding potential improvements, it’s a little grotesquely DIY, particularly the exposed wires that are effectively taped to the side of the orange. I’d also like to figure out what happened with the dim LED light.
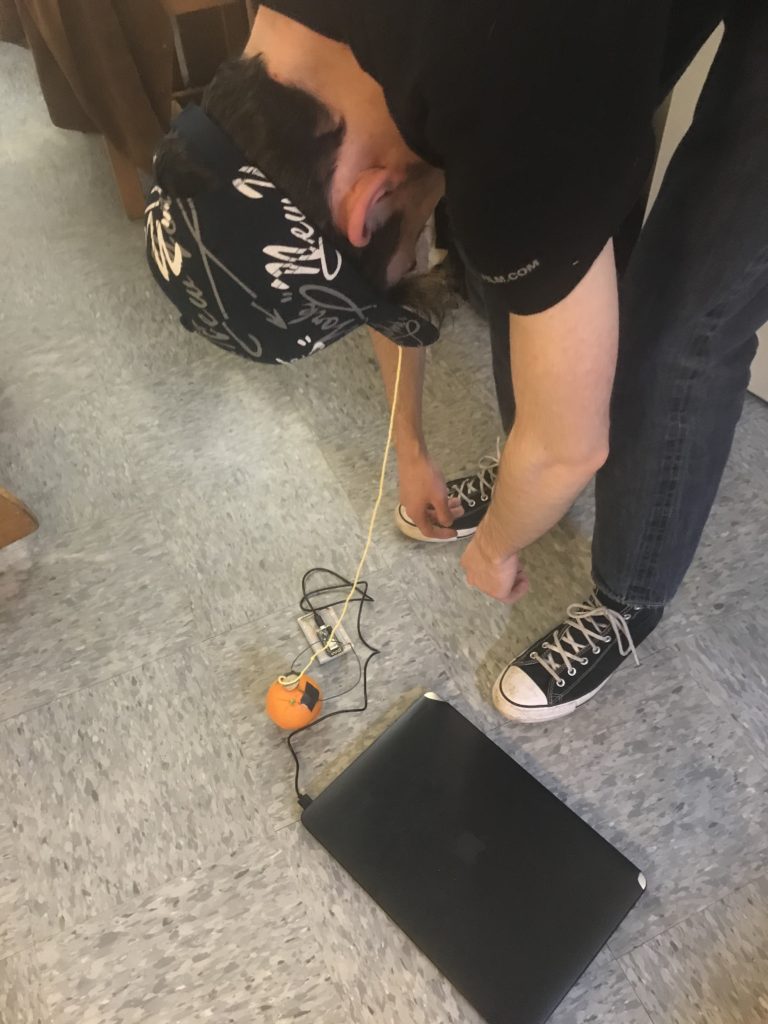
I spend far too much time on the computer, and in recognition of this fact I decided to make a switch that would prompt me to do some much needed back stretching.
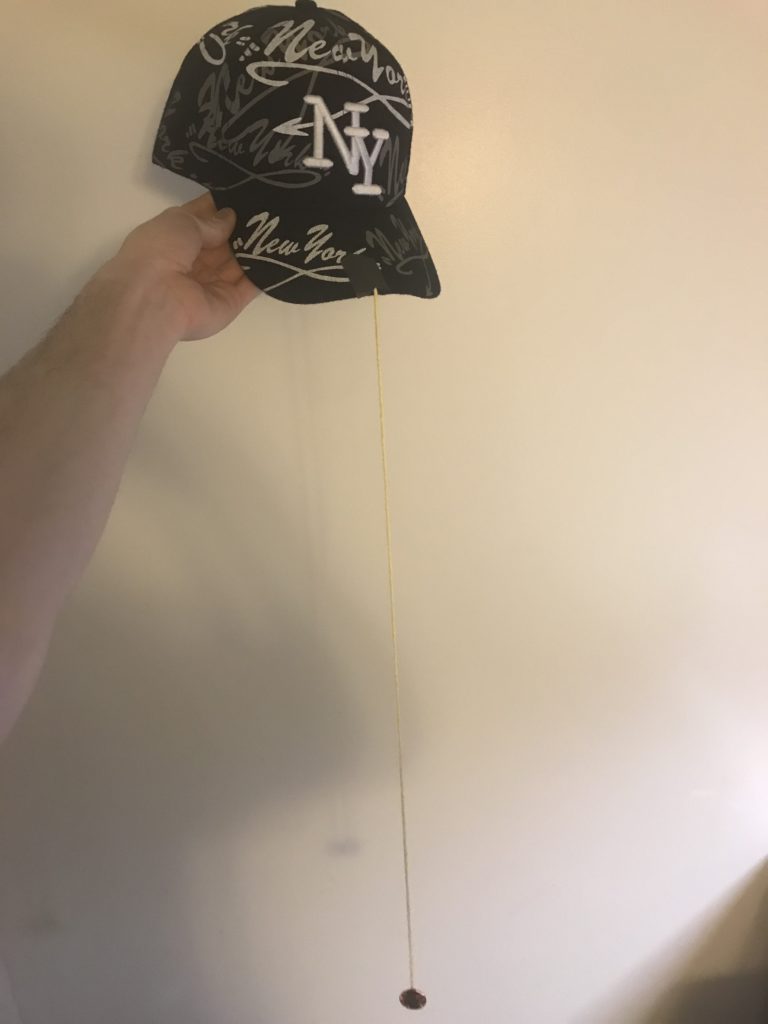
For this chiropractic exercise I used my New York baseball cap, copper tape, an orange that my roommate gave me, a quarter, and an old piece of string.
The plan was this: I’d use some copper tape on an orange sitting firmly on the floor. Then I’d tape a long piece of string to the brim of my hat, measure the amount of string necessary to just reach the orange while in a full forward lumbar stretch, cut the string at that point, and finally attach a quarter to that string’s loose end using copper tape. I did all of that, and it turned out just fine. I plan on connecting the two conductors to an LED setup in class tomorrow.
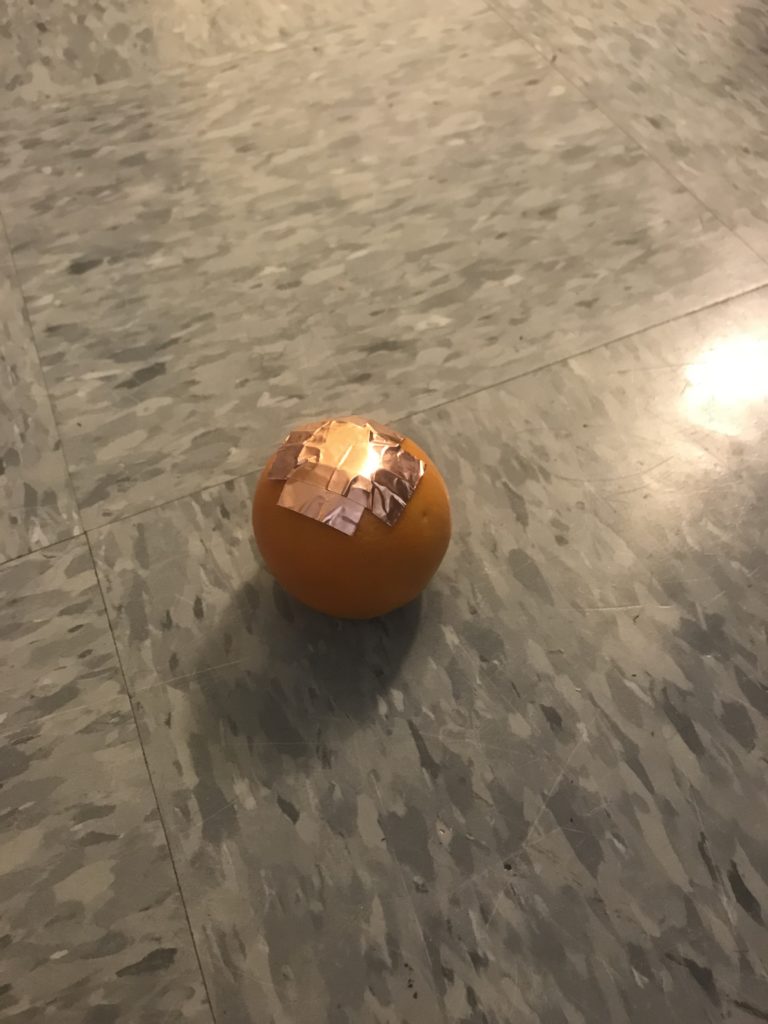

In the ideal scenario, I would’ve simply stuck a quarter into the orange to use as a conductor, but I only had one quarter and I preferred that quarter be used to stabilize the string. In the end, I’m kind of glad that I only had one quarter, as the orange would’ve otherwise spoiled overnight, and I’d still prefer to eventually eat the orange so that it doesn’t go to waste.
In the doubly ideal scenario, I would’ve had a battery to use and wires to connect to a breadboard and LED light. Nevertheless, I got a good back stretch in, and so, in the end, I feel younger and more flexible than ever before.